Major Progress on Ruthy, the ’39 Chrysler
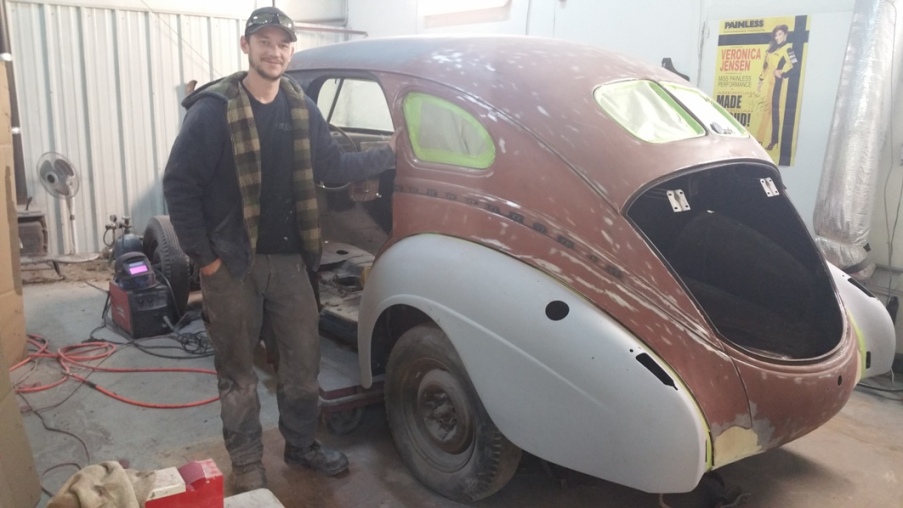
The last couple weeks have been very productive for Ms. Ruthy, our ’39 Chrysler Royal restoration that we are doing as a family project.
This week, while Tim was working on the more advanced body work on our F-150 restoration, Erick sanded down the surface of the car. We’ll strip the paint off on certain parts of the car, like the doors and the hood. For the main body though, we’re sanding it down with the DA sander.
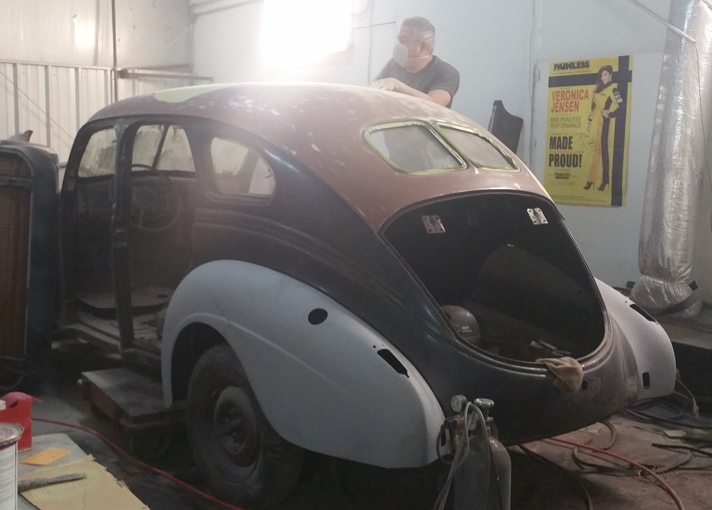
Sanding the entire surface area
There were rust holes that needed to be patched with new steel on the rear wheel arches. This week, Erick welded the patches in and finished up the metal and body work for the back of the car.
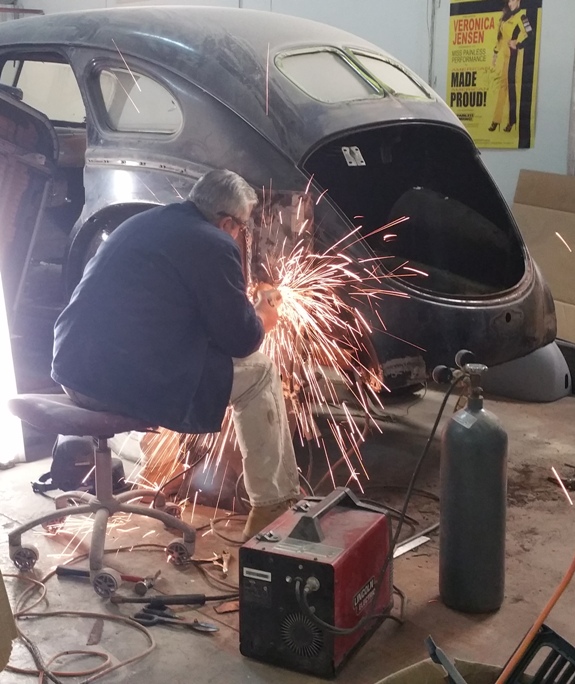
Metal work on the rear end
In the last update on Ruthy, we showed the back fenders in primer. We applied an anti-rust application of POR to the insides of the fenders and the inner wheel wells where the fenders attach to the frame of the car. All the body work has been done on the rear fenders, and they are now back on the car. This is a great step to have done!
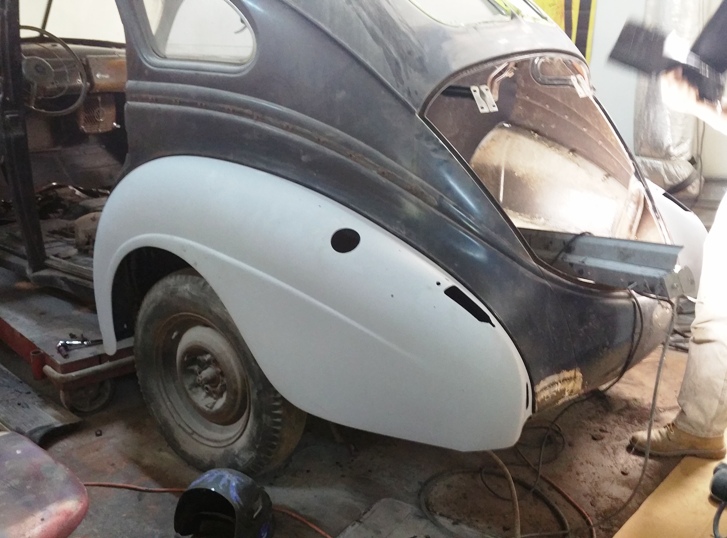
Rear fenders on
You can see the patches we made where the fenders line up with the car.
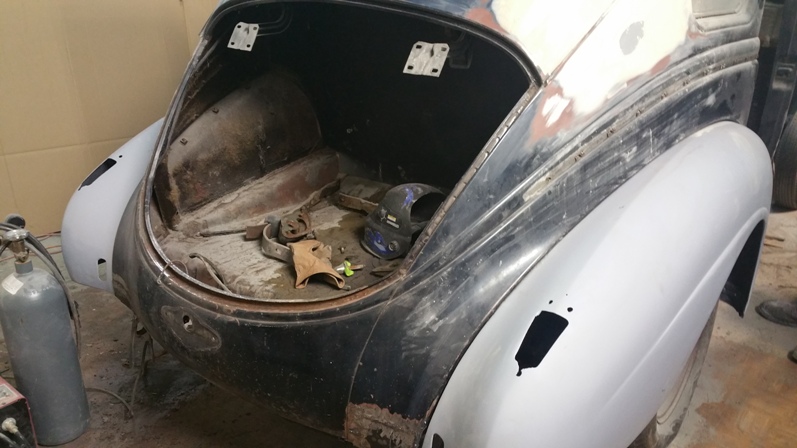
Back end; with steel patches welded in
This new steel was also needed on the interior of the trunk. In the picture below, you can see the neat patch that was welded into the corner of the trunk. Next, we are going to apply more POR to the entire trunk so that no rust should return.

New steel in the trunk corners
After the metal work is done, it’s time to apply bondo to the area and get the body smooth. Welding leaves behind small bumps in the body from each weld. We need to do body work to smooth the areas out. In the picture below, the car has been sanded down (no more blue!) and the corners that needed rust repair have been fixed.
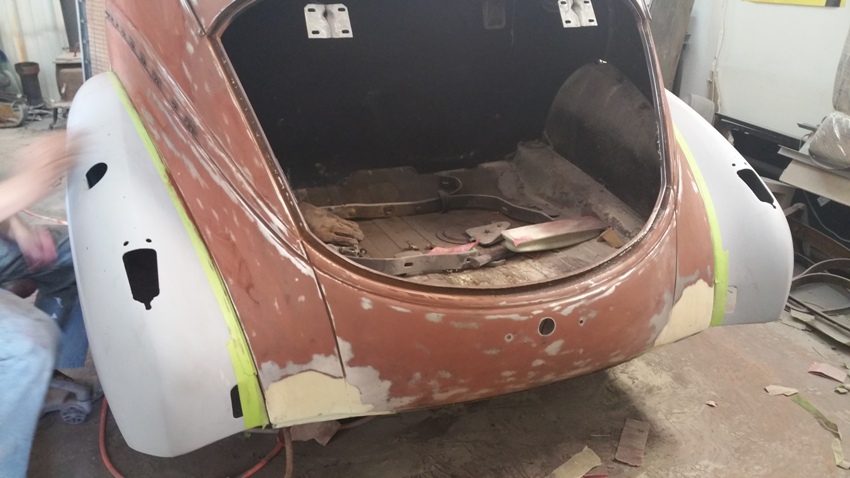
Body work over the metal patches
Tim worked on the trunk lid for the car, sanding it down and doing body work in the areas it needed. The trunk lid is now done and in primer (not pictured).
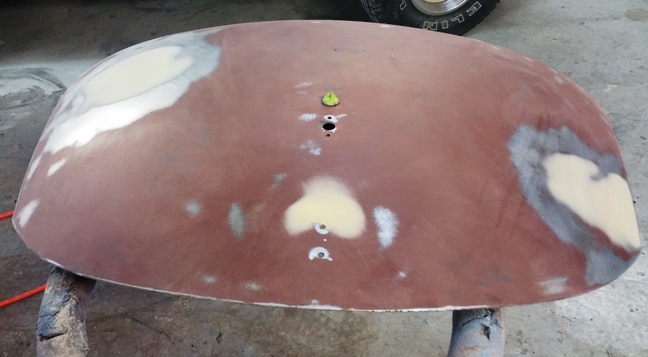
Trunk lid, body work done
Tim will take care of all the advanced body work that will need to be done on the fenders and roof. Since both the front and rear fenders are so rounded, it takes a little more sculpting and fine tuning to get them perfectly smooth. He’ll be able to feel the smallest imperfections and get them straightened out again.
Tim also started chipping away at the dashboard. The old dash had been painted to look like wood, but it was cracked and faded. We were pleasantly surprised that it came off easily, revealing a nice smooth finish. Tim plans on repainting it with the wood grain look.
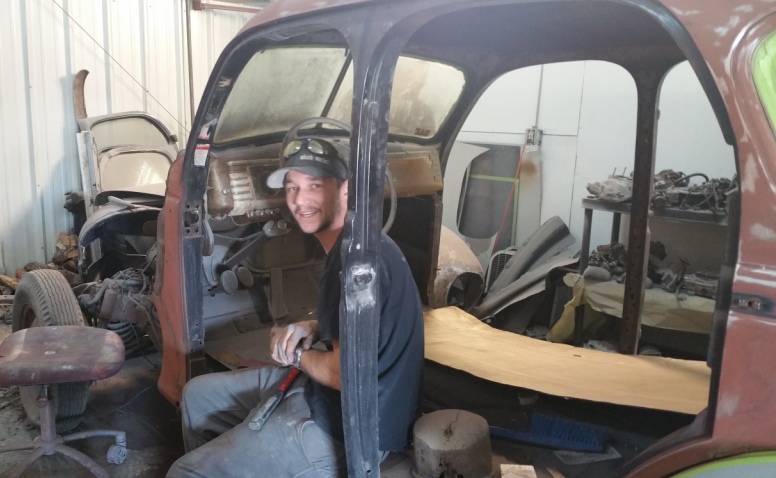
Tim working on the dash
We cleaned up the dash and stripped off what needed to go. The glove compartment was actually stuck shut. Once he got it open, he found an old picture of his grandpa (remember, this is his grandma’s very first car!), and some other things from when his grandma drove the car back in the early 1950’s.
The next blog will show off all the old, sentimental things we’ve encountered with Ruthy, so look for that! Like for so many of our customers, this classic car is not just a car. It holds special memories for our family, including the memories we are making by working on it.
To catch up on previous Ruthy updates, follow the Ruthy tag here.

Got something to say?